DIY Build Your Own Red Light Therapy System at Home
In recent years, red light therapy has gained popularity for its claimed benefits in skin rejuvenation and overall wellness. While high-end red light therapy devices can cost thousands of dollars, some creative individuals have taken matters into their own hands, building their own affordable setups.
One such example is Ruth Amos, who decided to tackle the hefty price tag of a $78,000 LED bed by creating a much cheaper DIY alternative. Today, we delve into the process of constructing a red light therapy system from scratch, highlighting both the challenges and rewards of DIY wellness projects.
The DIY Approach to Red Light Therapy
Red light therapy works by using specific wavelengths of light to penetrate the skin, which is believed to stimulate healing, reduce inflammation, and enhance collagen production. Many high-end devices utilize LED lights that emit light at a particular wavelength, typically around 630 to 660 nanometers. These wavelengths are thought to benefit skin health and aid in the reduction of fine lines and wrinkles.
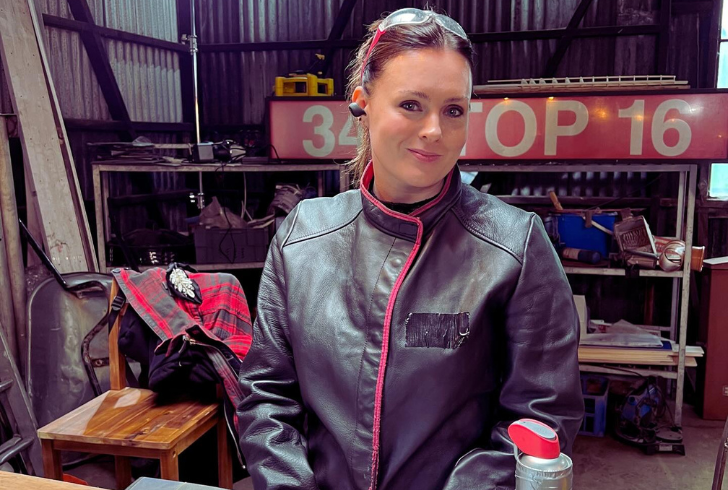
Instagram | ruthamos | Ruth economically replicated the benefits of a costly LED bed using affordable red LED strips.
Ruth’s approach was simple but effective: she decided to use affordable, readily available components to recreate the same benefits. Rather than purchasing a commercial LED bed, which could cost thousands, she opted for individual red LED strips that were more budget-friendly. By strategically integrating these LED strips into a welding mask and an oversized tracksuit, she created a full-body, DIY light therapy system for just a fraction of the cost.
How to Build Your Own Red Light Therapy System
While it may sound like a daunting task, building a DIY red light therapy setup is relatively straightforward if you have the right materials and some basic skills. Here’s how you can do it:
1. Choose the Right LEDs
The first step is to purchase LEDs with the appropriate wavelength, typically in the range of 630 to 660 nanometers. These are the most effective for skin treatment, as they are absorbed by the skin’s surface to promote healing.
2. Design Your Setup
Ruth used a welding mask and attached LED strips to it, ensuring the light would shine directly on her face. For a more extensive setup, consider incorporating LED strips into clothing or a headband to ensure coverage of different areas of your body.
3. Connect the LEDs
Once you’ve gathered your LED strips, connect them to a power source. You may need a soldering iron or other tools to ensure everything is wired correctly. Make sure the power source is stable and capable of handling the load of all the LEDs.
4. Testing and Adjustment
Before using your DIY red light therapy system, test it to ensure the LEDs are working as expected. You may need to adjust the positioning or add more LEDs for better coverage, depending on your needs.
5. Use Safely
Always follow safety instructions when using red light therapy. Though the LEDs themselves are generally safe, extended exposure to any light source can cause discomfort or harm if not used properly. Make sure to keep the lights at a safe distance from your skin.
Benefits of DIY Red Light Therapy
Creating your own red light therapy setup offers several advantages, particularly the significant cost savings. Here are some of the key benefits:
1. Affordability
Purchasing a high-end LED therapy device can cost several thousand dollars. By using inexpensive components like LED strips, Ruth’s DIY setup cost her just around $100, which is a substantial difference.
2. Customization
When you build your own system, you have full control over the design and can adjust it to your personal preferences. Want more coverage for your face? You can adjust the LEDs. Need a more portable setup? You can modify it accordingly.
3. Satisfaction of DIY
Building something yourself provides a sense of accomplishment. Knowing you created your own red light therapy system can add an extra layer of satisfaction to your wellness routine.
The Reality of DIY Red Light Therapy
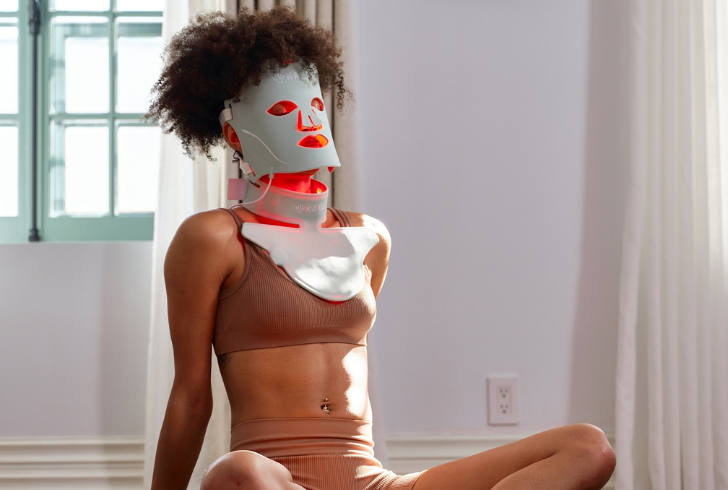
Instagram | kalatherapy | Red light therapy shows promise in improving skin health and reducing inflammation.
While the DIY route offers many benefits, it’s important to note that there are some limitations. Ruth’s setup, while functional, might not provide the same level of intensity or full-body coverage as a commercial LED bed. Full-body treatments require more LEDs and a larger setup, which can be more complex to build.
Additionally, comfort can be an issue. Wearing a welding mask and a tracksuit laced with LEDs isn’t the most comfortable solution, especially for extended periods of use. But these are small trade-offs for those looking to experience the benefits of red light therapy on a budget.
Is DIY Red Light Therapy Right for You?
DIY red light therapy is a great option for anyone looking to experiment with the benefits of red light therapy without the hefty price tag. However, it’s important to be realistic about what you can expect. While a DIY setup can mimic the core functionality of expensive devices, it may not provide the same level of comfort or convenience. That said, it can be an effective and affordable solution for those who are handy with tools and willing to experiment.
Red light therapy is a promising method for improving skin health and reducing inflammation. Whether you choose to invest in a commercial device or take on a DIY project, the potential benefits are worth considering.